Getting started
This page takes you from the installation to the first parallelization suggestions and a measured speedup, using the graphical user interface (GUI). The GUI walk-through goes through the same steps on an example program and explains them in more detail, and the Manual describes every tool and option.
Prerequisites
- A Linux system with Python 3.11 or newer and a display (the GUI uses Tk).
- The system packages below. The profiler is built from source during the installation.
- A C or C++ project that builds with the compilers and flags given in the environment variables
$CC/$CXXand$CFLAGS/$CXXFLAGS. DiscoPoP sets these variables to instrument your code, so a build script that hard-codesgccdoes not work. - A small, representative input. The instrumented program runs much slower than the original one, and DiscoPoP only sees the code paths that are executed.
sudo apt install python3 python3-pip python3-venv python3-tk build-essential cmake git llvm-19-dev clang-19 clang-tools-19 libomp-19-dev libboost-dev
LLVM 19 to 22 are supported. For other distributions and versions, see Installation.
Install
python3 -m venv venv
source venv/bin/activate
pip install discopop
This installs all DiscoPoP packages, including the GUI. It takes a few minutes, as the profiler is compiled. To install from a checkout of the repository instead, see Installation.
Start the GUI
With the virtual environment activated, go to your project and start the GUI:
cd <your project>
discopop_gui
Use discopop_gui -p <project directory> to start it from another directory. DiscoPoP keeps all its data in the folder .discopop of the project.
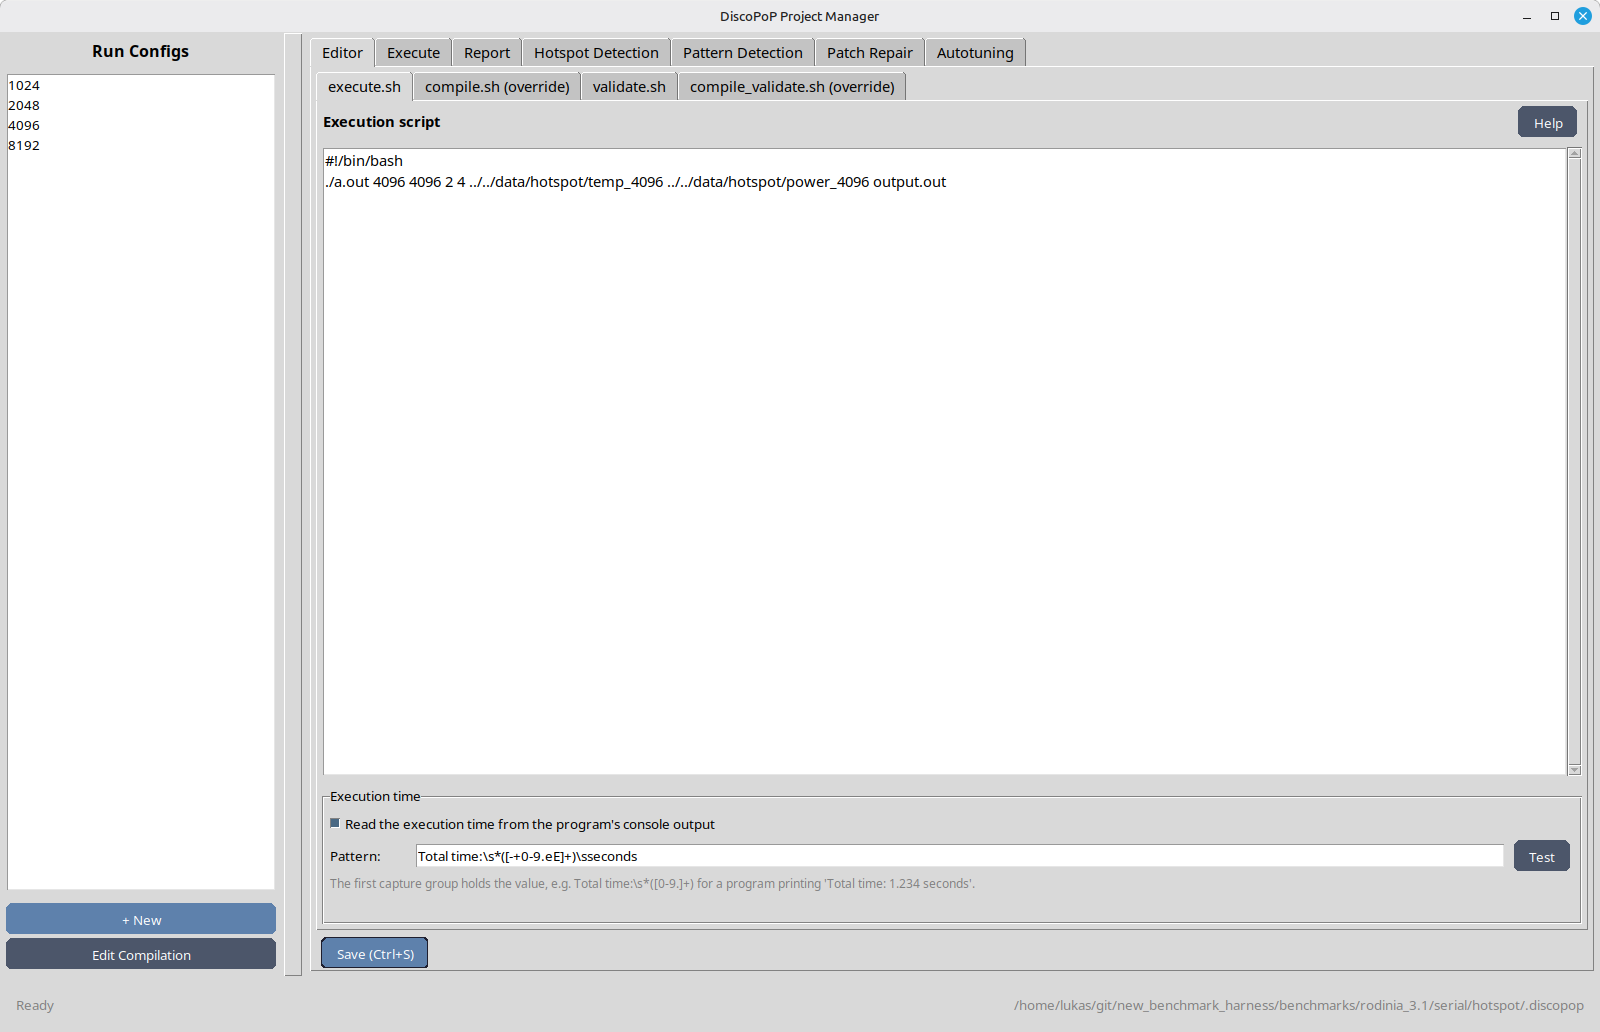
Configure the project
On the first start, the Configuration Assistant asks for two scripts and checks that they work:
- the compilation script
compile.sh, which builds your project from its root directory, for example#!/bin/bash $CXX $CXXFLAGS main.cpp -o prog - the execution script
execute.shof a configuration (a named input, e.g.tiny), which runs the program, for example#!/bin/bash ./prog input_small.txt
Optionally, a validation script validate.sh checks that the output is still correct after a parallelization. The assistant derives the settings for the instrumented and the parallel builds itself; you can review them later in the Editor tab.
Find and measure parallelism
Select the configuration in the list on the left and work through the tabs from left to right:
- Execute: select the sequential mode and click Run to measure the original program. Then click Prepare Pattern Detection: it builds and runs the instrumented program and keeps its profiling data in
.discopop. - Hotspot Detection: click Run Measurement to find the regions that take the most time. The autotuner uses this result. Measuring two configurations with different input sizes gives the best ranking.
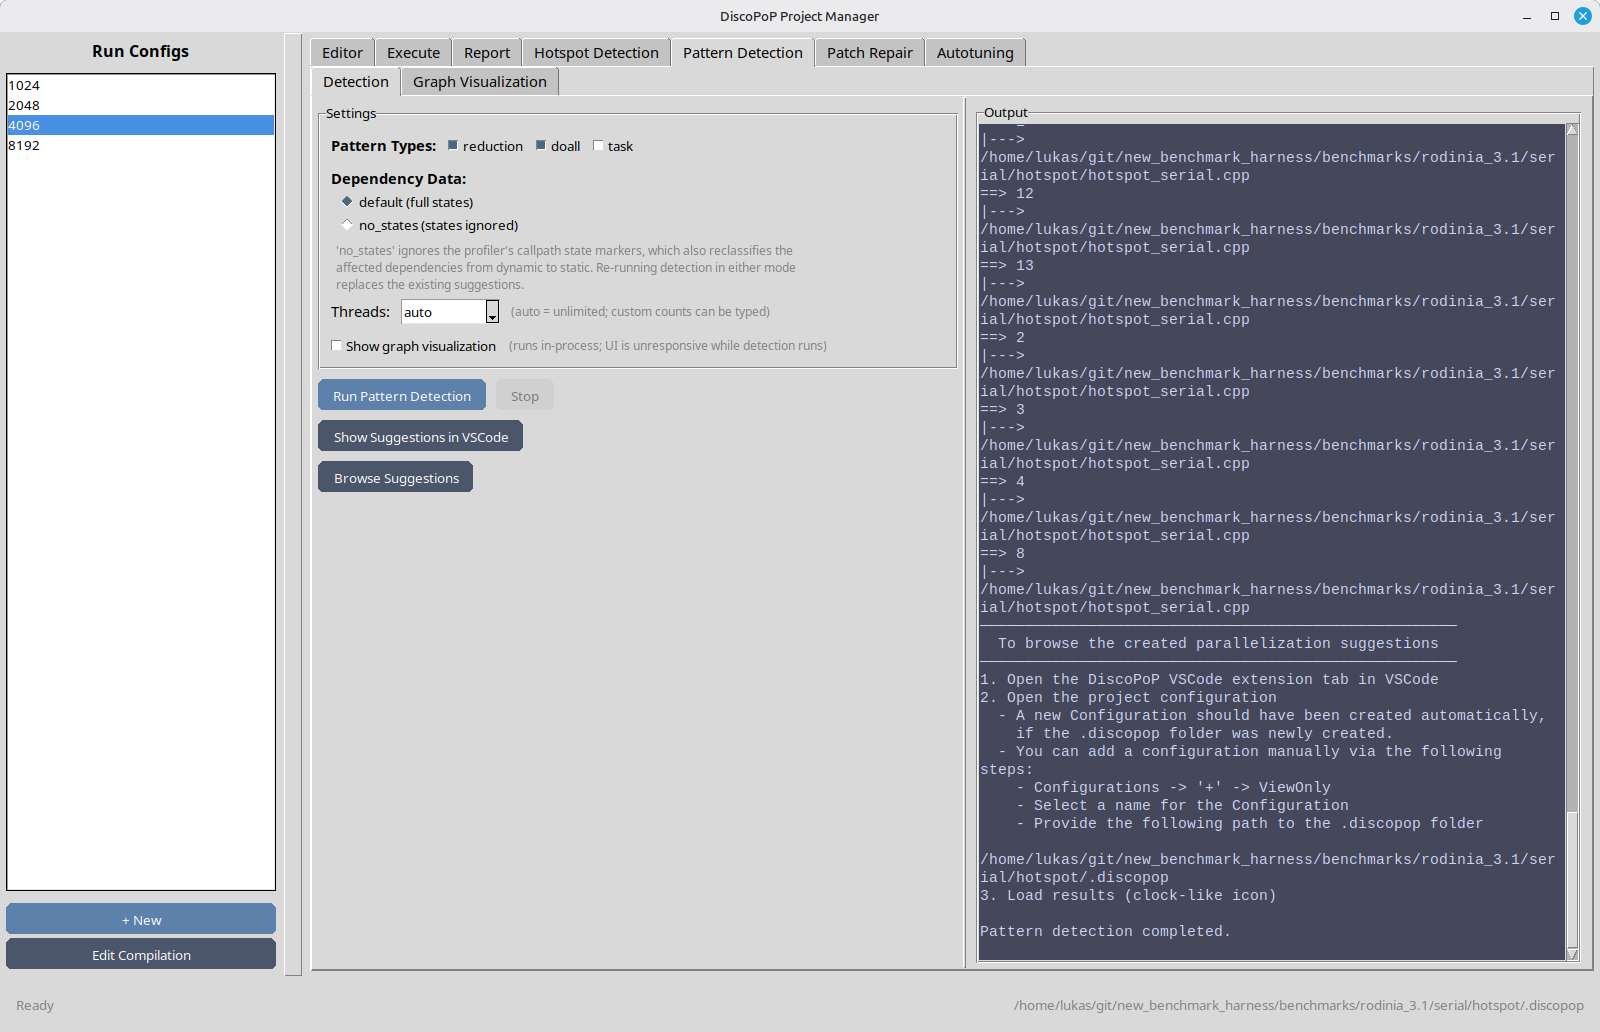
- Pattern Detection: click Run Pattern Detection, then Browse Suggestions to see each suggestion with its source location and the OpenMP patch.
- Patch Repair (optional): checks the generated patches and repairs them with an LLM agent you configure in the tab.
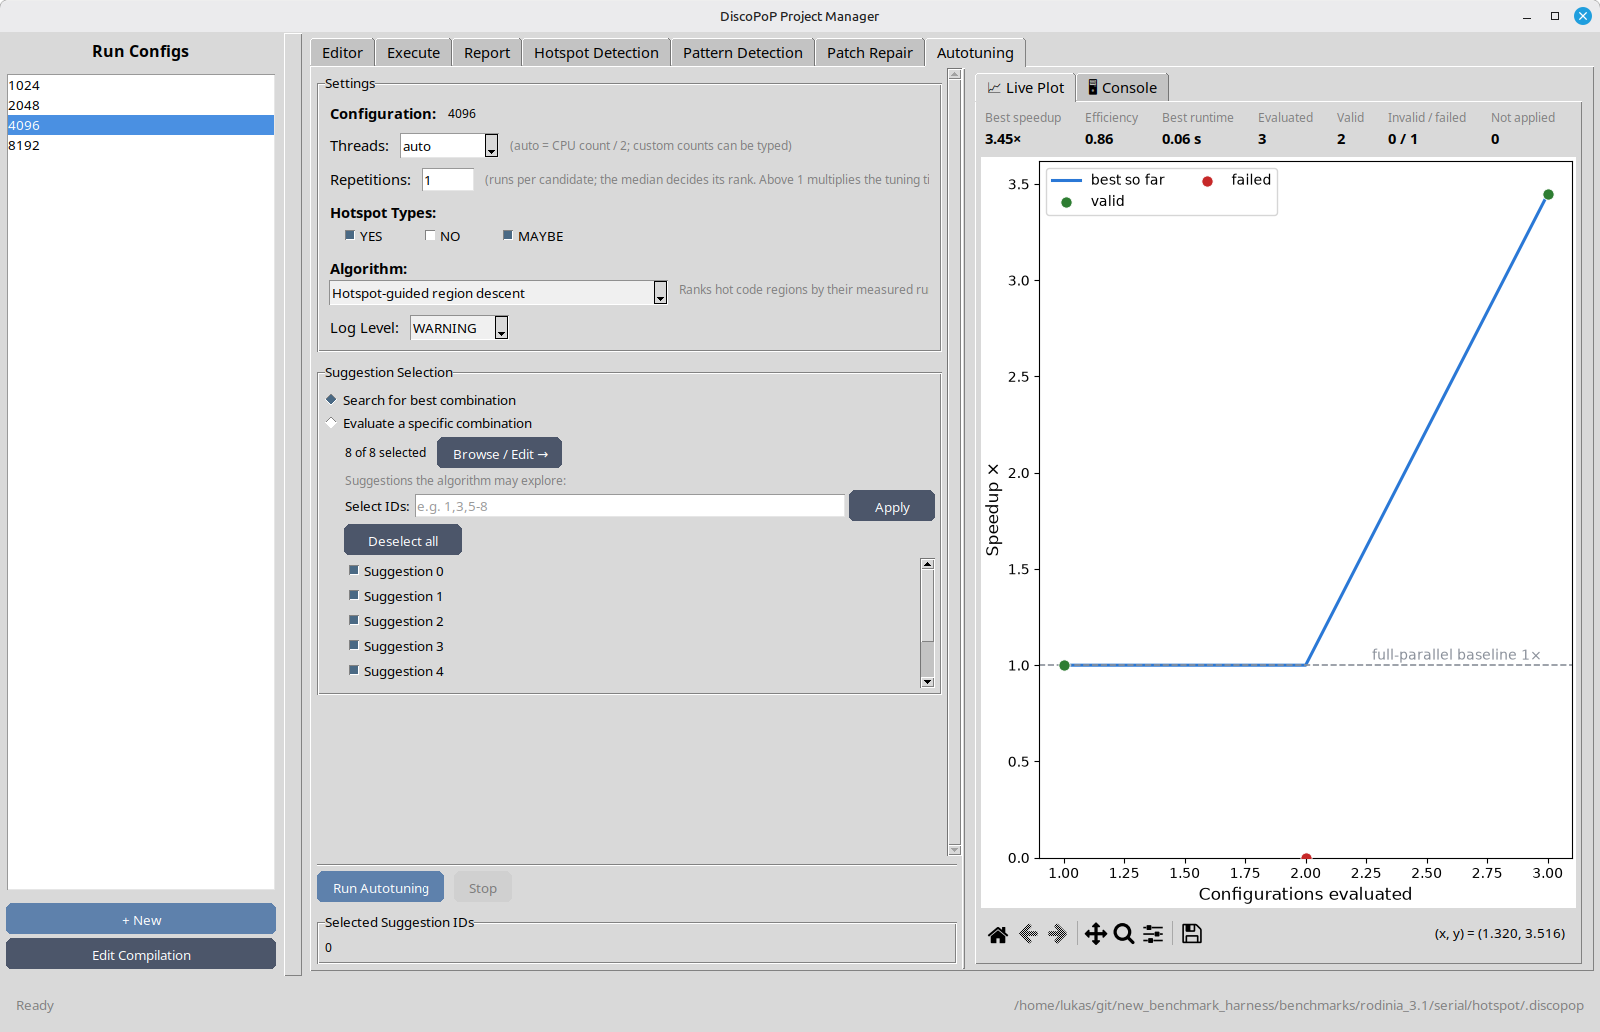
- Autotuning: click Run Autotuning. The autotuner measures combinations of the suggestions and keeps those that make the program faster; the plot shows the speedup of each measured combination. The default algorithm, Hotspot-guided region descent, needs the result of step 2; without it, choose another algorithm, for example Greedy combination.
- Report: shows the measured times of all runs; Generate PDF Report writes a report.
To measure the best combination again, select the parallel mode in the Execute tab, choose Apply autotuner-selected suggestions and click Run; this works on a copy of the project. To change your source files, apply the selected suggestions with the patch applicator.
Troubleshooting
| Problem | Solution |
|---|---|
ERROR: this command opens a graphical window, but no display is available | The GUI needs a graphical session. Use X forwarding (ssh -X), or use DiscoPoP on the command line, see Project manager on the command line. |
No module named 'tkinter' | Install Tk for your Python (sudo apt install python3-tk) and start discopop_gui again. |
| The installation fails while building the profiler | Check that the LLVM/clang development packages (19 to 22), CMake 3.28 or newer and the Boost headers are installed. |
discopop_gui: command not found | Activate the virtual environment (source venv/bin/activate). |
Next steps
- GUI: all tabs and buttons in detail.
- Manual: all tools, options and output files.
- MCP server: let an AI assistant run DiscoPoP for you.
- VS Code extension: browse the suggestions and hotspots in the editor, as an extension to the GUI.